By Joel, Precision Rifle Network
All right, let me get this straight. You fired one to three shots and you think your rifle’s zeroed? Here’s how I actually confirm a rifle zero before I trust it.
A lot of people zero that way, and it’s why a lot of zeros fall apart. Today I’m getting my rifle zeroed, and I want to walk you through the three things you need to check to make sure the rifle, the scope, and everything else is good to go. When those three things are squared away, you can’t blame the rifle. If you screw up, you’ll have to blame yourself.
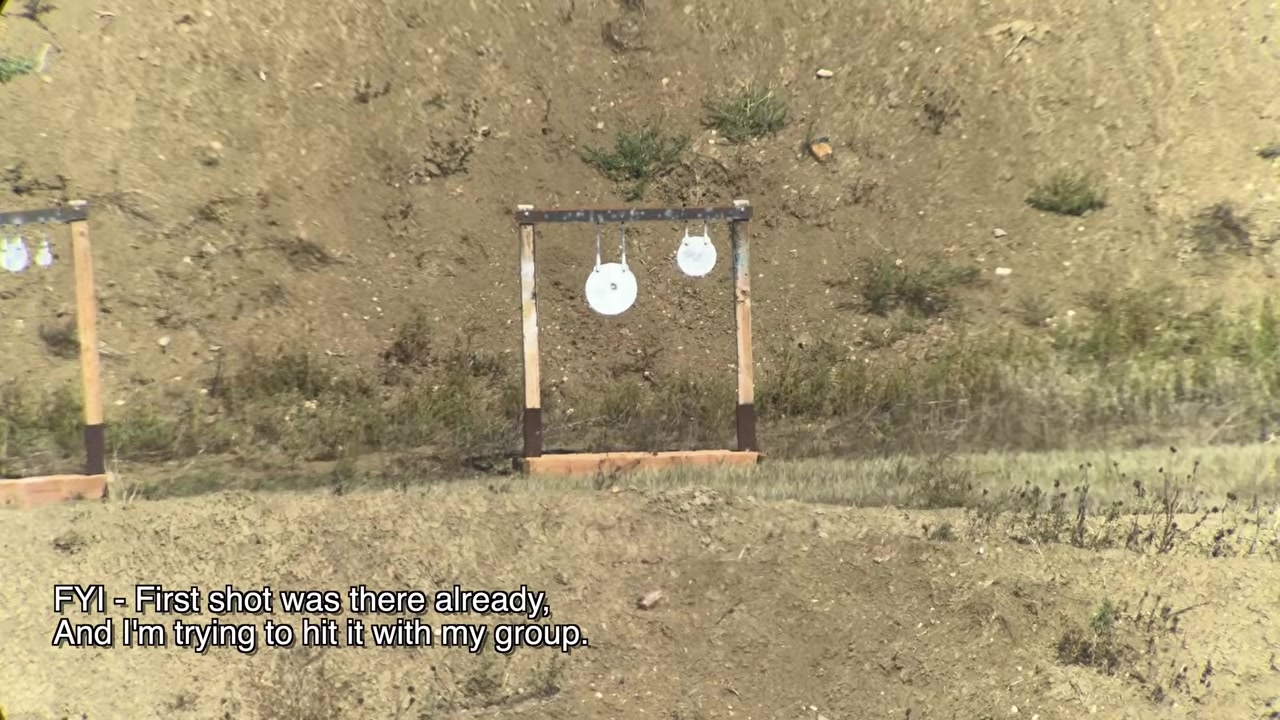
Here’s the setup. The last time I used this rifle was to qualify for the long range area at the Pete Lien & Sons State Range in South Dakota, so I’m fairly confident it’ll hold a pretty close zero. Because of that, I’m skipping 100 yards and going straight to the 300 yard berm. If I put my reticle on target at 200 or 300 yards, I should hit one of these big steel plates and be able to confirm off of that. I’ll also grab some chronograph data while I’m out here.
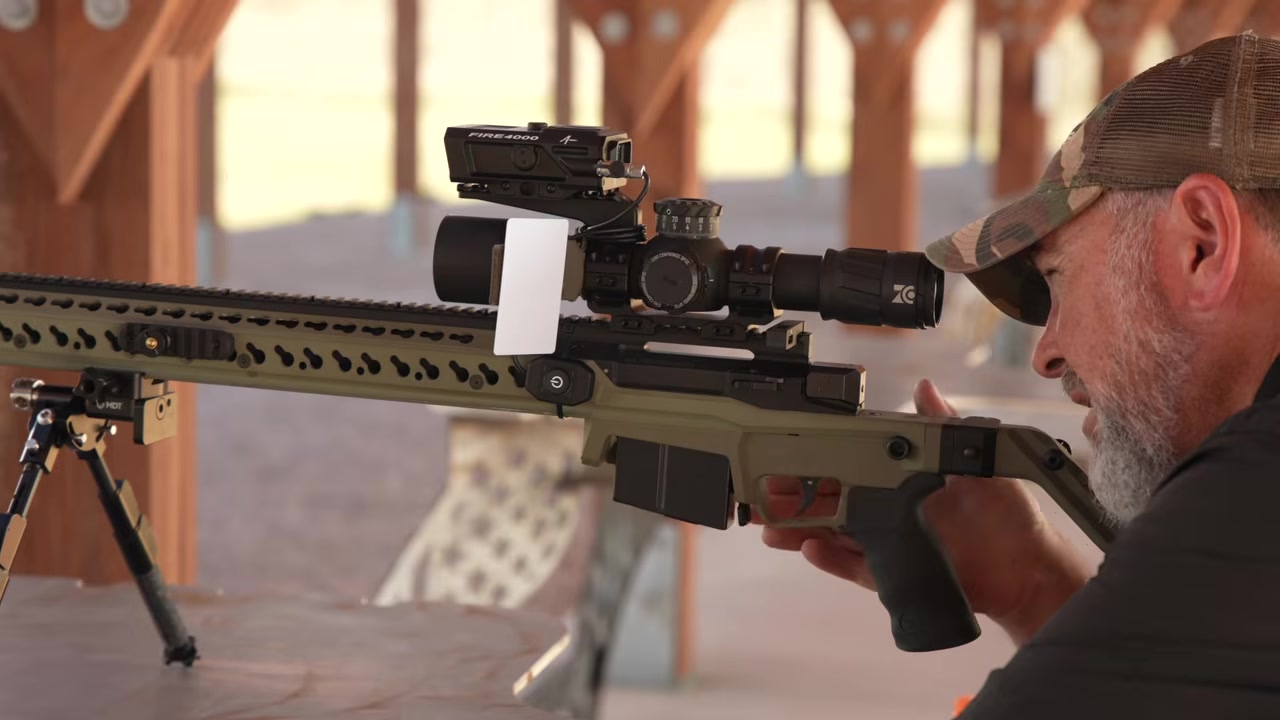
From the video description: The rifle is an Accuracy International AT-XC in 6.5 Creedmoor, shooting 130 grain Federal Gold Medal Match. On camera I call it “an AI” and name the ammo, but the AT-XC model name only appears in the description.
#1: Check the Torque on Your Mounts and Hardware
The first thing to check is the torque, or tightness, of all your mounts and hardware. You want to know that nothing has moved.
Now, this is an AI, and never in my life have I heard of AI action screws coming loose. I’d also have to break this thing down significantly to check them right now, so I’m not checking that particular piece today. I am checking my scope rings, the bases, and the ring mounts, just to make sure everything is tight.
I’m using a little kit from Fix It Sticks. Here’s how I go about it:
- Mount to base: these mounts have a pattern. You’ve kind of got to go 1-3-2-4. I torque them to 45 inch-pounds because that’s what I use. You can do whatever you want, but that’s what I’m checking.
- Ring tops: I go with 25 inch-pounds, again in an alternating pattern, just to make sure nothing has moved.
When I checked them, nothing seemed to have moved, which is exactly what you want to find.
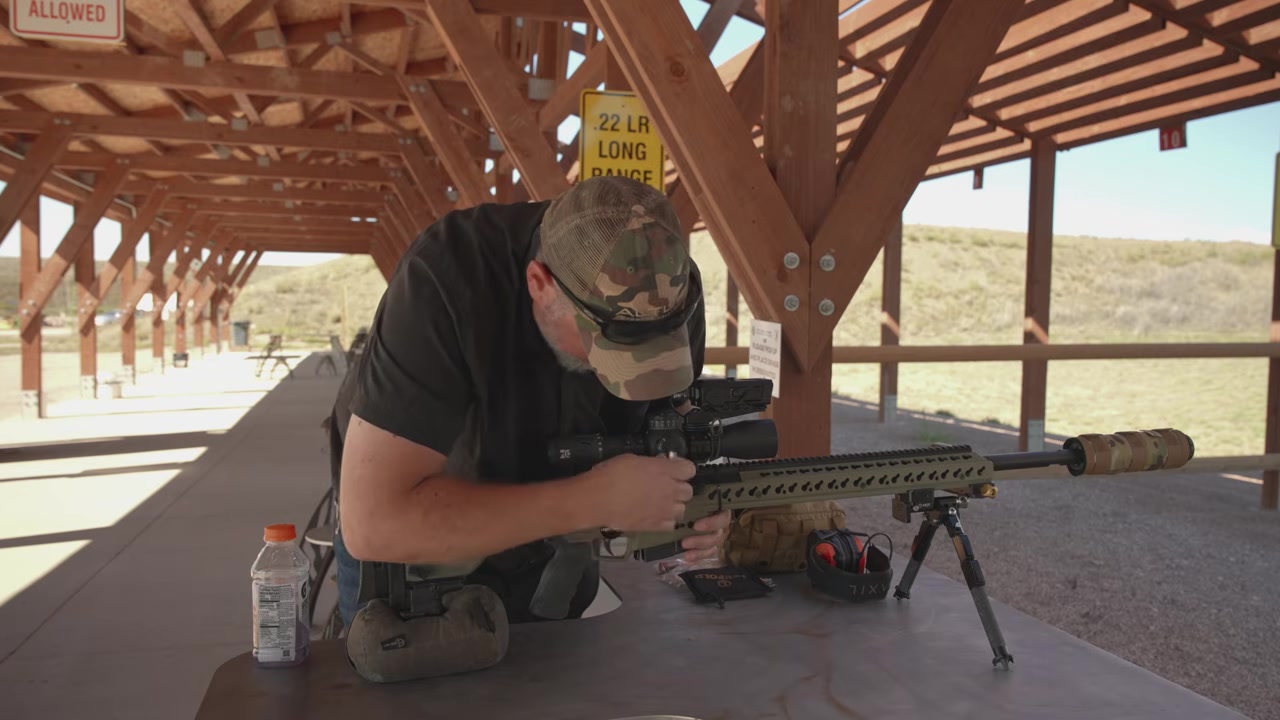
What About the Barrel?
If you bought a factory rifle or something like that, you wouldn’t have to check torque on your barrel. But if you’ve got something that can be hand-threaded on, like this AI or a Terminus Zeus action, or something similar with a switch barrel design, it might behoove you to check those set screws real quick.
For the sake of speed on the video, I did that before we started rolling. I just wanted to show you the point without belaboring it.
#2: Confirm Your Rifle Zero With the Exact Same Ammo
The second point is to use the same ammo the next time you shoot your rifle.
This rifle was zeroed with 6.5 Creedmoor 130 grain Federal Gold Medal Match, which is what I’ve got in my ammo wallet here. So I’m using that same ammo now, hoping to find a similar zero.
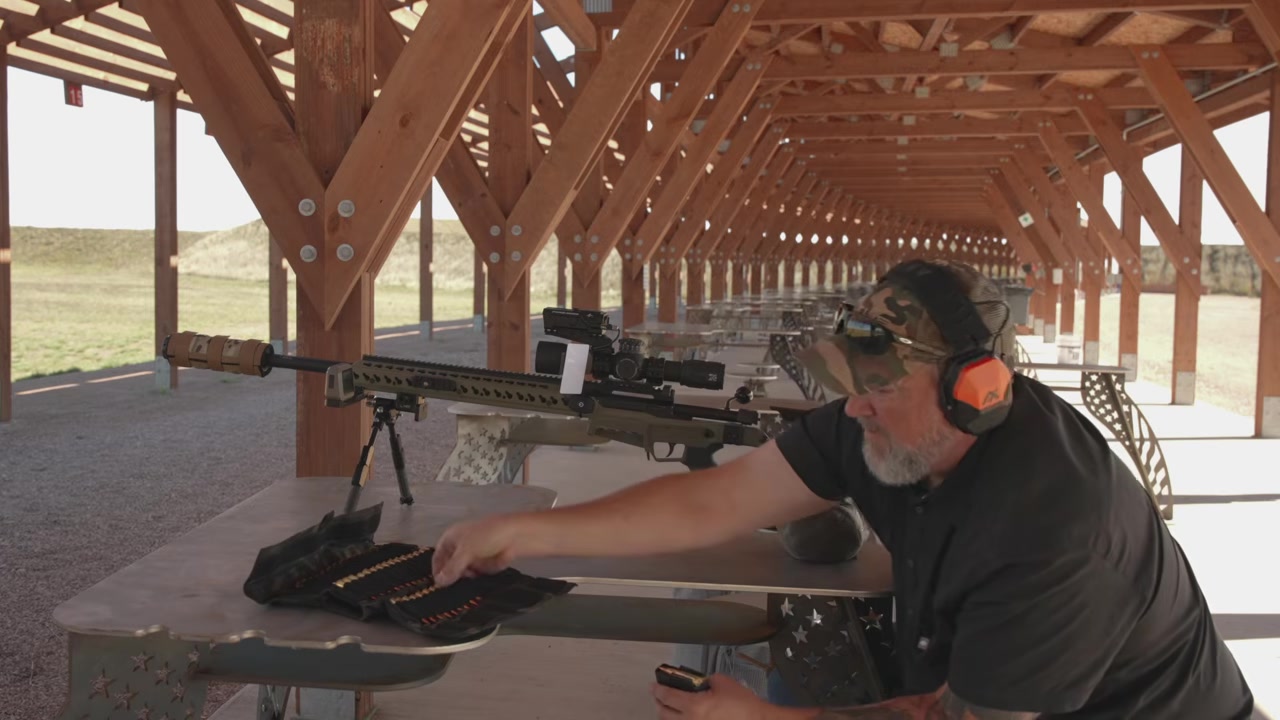
Here’s the catch. If you switch ammo, or even switch lots of the same ammo, it could still shift your zero. That’s true even if it’s the same bullet weight from the same manufacturer, if you’re not maintaining that kind of consistency. So the second most important thing is to make sure you’re using the exact same ammo, and you should get good results.
#3: Get a Solid, Stable Rest
Third: once you’ve got everything tight, the rifle checked, and the exact same ammo you used last time, make sure you’ve got a nice solid rest.
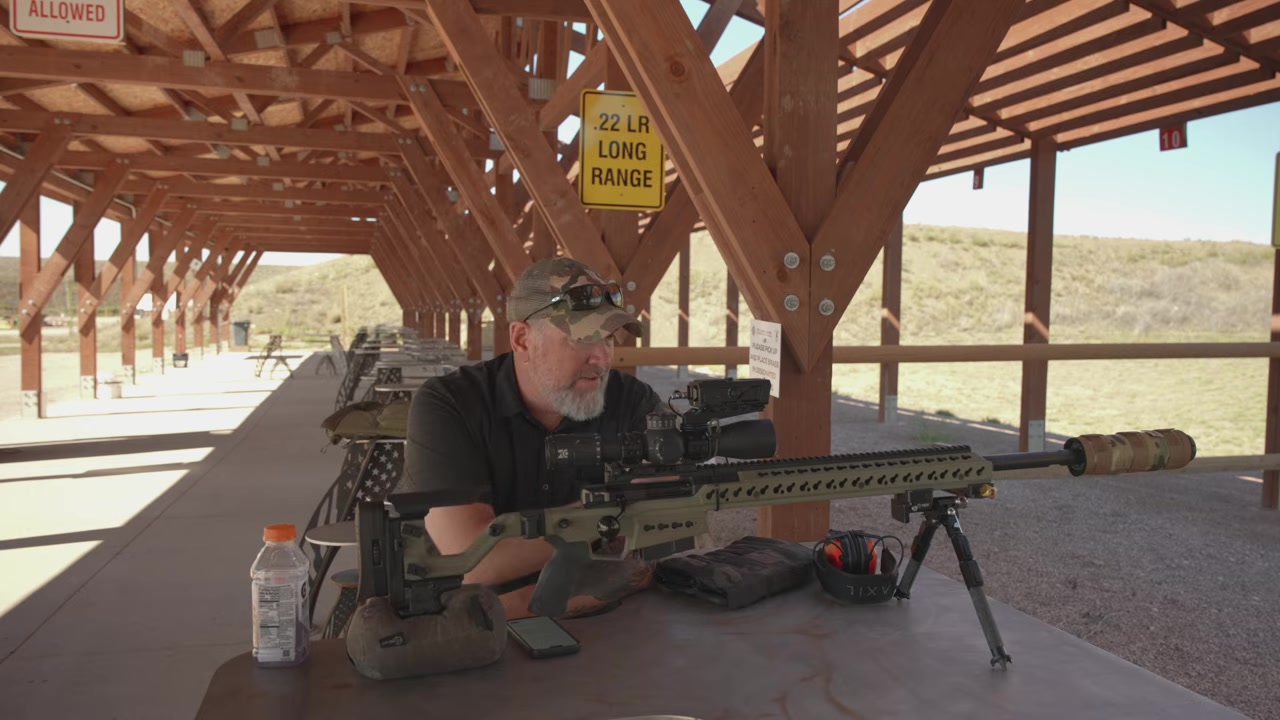
Here’s what I’m working with:
- A really level, flat surface with hard cement below me
- A nice steel bench
- An MDT Ckye-Pod under the front end of the rifle
- A Cole-Tac rear bag under the back
That’s about as stable as I can make it without bringing out all the F-class rests and all that kind of crap. I suppose if you’re after the absolute most stable setup and the tightest zero possible, maybe that’s the way to go. But not everybody has that available. Most people do have a front rest of some kind, like a bipod, plus a rear bag or rear rest. So that’s what we’re going to use.
A Note on Shooting Benches
If it’s your first time watching my channel, you might not know that I hate the way shooting benches are designed. They don’t really let you square up well behind the rifle. So I tend to move everything over and sit behind it there, instead of cramming myself into that little space. If you’re wondering why I’m sitting back where I am, that’s why.
Putting It to the Test: How I Confirm My Rifle Zero
With the three checks done, let’s get into the shooting and see if we can nail that 300 yard target in the first couple of shots.
First Shots: Always Double-Check Your Wind Call
I went for the smaller plate, planning to hold two tenths for wind. Right before the shot, I noticed the mirage had changed, so I held straight up instead. The shot still pushed left.
That’s a perfect example of why you always want to double-check your wind call. The flag down by me at the shooter was basically standing still, doing nothing, and I could feel the wind directly in my face. But the mirage down at the target was pushing right to left. I caught that mirage at the last second and made my wind call off of it. Had I held two tenths coming from the left, I might actually have missed that plate.
Takeaway: what you feel and see at the bench isn’t always what’s happening downrange. Read the mirage at the target before you break the shot.
200 Yards: Confirm the Rifle Zero With the Rangefinder and My Dope
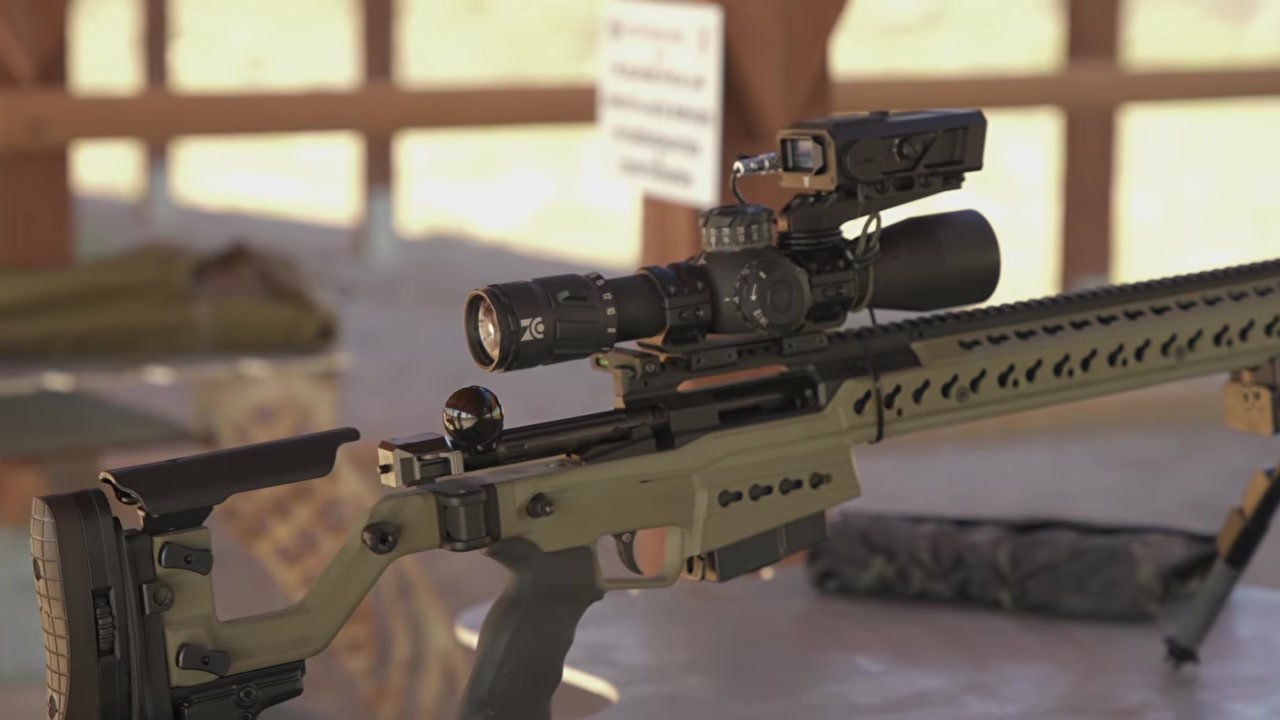
I’ve got the chronograph set up, and I’ve got a laser rangefinder attached on top of the rifle. I raised my bipod a little and lasered the plate: 201 yards. Perfect.
I’m trusting the dope I’ve got on there, because that’s what I used last time. That called for 0.3 for the 200 yard plate. I checked for cant, held center, and sent it. Impact was really close to center.
300 Yards: Wind Check and a Group
Next I moved out to 300. The laser read 305, and my data called for 0.9, so I dialed 0.9.
Then a quick wind check:
- Speed: about 7
- Direction: around 11 to 11:30
So I favored left and sent it. Impact. Then I shot a group on a slightly smaller plate to make sure I was hitting where I wanted. The wind call was good.
Reading the Chronograph: Why I Was Hitting High
Bada bing, bada boom. But I was running a little high.
The chronograph showed an average of 2,885 feet per second, and I think my data was actually built off 2,850. Faster ammo than the data expects means a little high, which is exactly what I was seeing. So I brought it down a tenth and sent it on a new plate.
Impact, impact, impact. That elevation looked good.
I’m going to true up my data, because my average is actually closer to 2,900 feet per second with this 6.5 Creedmoor 130 grain Federal Gold Medal Match.
Takeaway: a zero confirmation is also a good time to check your velocity. If your real-world muzzle velocity doesn’t match what your dope was built on, your elevation will be off at distance, so true it up. I walk through that whole process in Truing Your Dope.
Why I Went to 300 Yards to Confirm This Rifle Zero
I went straight to 300 for the sake of the video. Normally I’d do this at 100 yards, just like you would. But I wanted to get a video out for you with some helpful tips, especially for newer shooters.
Summary: How to Confirm Your Rifle Zero
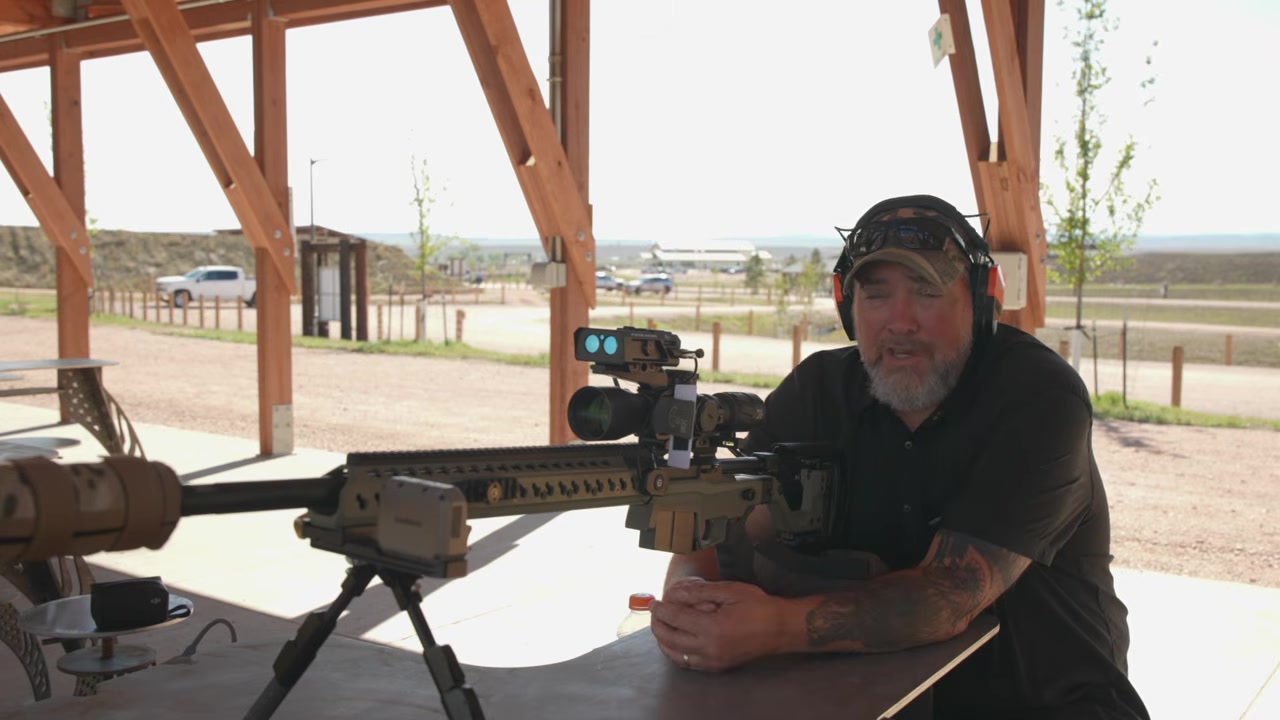
To summarize, here’s how to confirm your rifle zero:
- Make sure nothing’s moving. Check your mount, base, and ring torque, plus barrel set screws if you’re running a switch-barrel action.
- Use the same ammo you zeroed with. Even a lot change from the same manufacturer at the same bullet weight can shift your point of impact.
- Shoot from a very stable platform. You don’t want to zero or dope a rifle off a tripod. You want to be prone or on a solid bench, on a flat surface, in good conditions, without a ton of wind.
Once the rifle, scope, ammo, and rest are all consistent, the remaining errors are on the shooter.
Still Struggling with Wind?
If you’re new or intermediate and still don’t have wind figured out, I’ve got the Wind Mastery System. It’s five simple steps you can work through to make proper wind calls more consistently, get those hits, and be happier when you go to the range, without wasting a bunch of money on rounds trying to figure it out. You can find it at the Precision Rifle Network Skool community, and there’s a free wind guide at precisionriflenetwork.com.
Sponsor note: Many of you know I’ve been working with Cole-Tac forever and a day. Code PRN10 gets you 10% off anything Cole-Tac sells, like the little chronograph case I’ve got here. It holds a Garmin Xero, an Athlon chronograph, or a chronograph of that size. They’ve got new products coming out all the time, so go check them out.
Thanks for reading. Hit that subscribe button, and stay tuned for more from Precision Rifle Network.